Quick and cheap website creation with GatsbyJS
GatsbyJS is a static site generator using React that makes it ridiculously easy to get a site up and running. The GatsbyJS docs are pretty awesome, so I’d definitely recommend checking them out: https://www.gatsbyjs.org/docs/. They’ve got a tutorial that can get even the most novice web developer set up, plus a quick start section for those who know what they’re doing and just want to get stuck in. What more could you want!
Despite the fantastic docs on the GatsbyJS site, I still feel like people need to hear my voice so I’m going to put together a case study of using GatsbyJS to build a website, namely jarobe.com. That’s right, you’re currently reading a blog post on jarobe.com about how GatsbyJS was used to build jarobe.com.
What a world! By the end of this thing, we’ll have a working website up and running for the world to see.
Why use GatsbyJS?
Honestly, jarobe.com is a perfect use case for GatsbyJS. Gatsby’s big sellings points are making it super easy to build a very fast website on top of pretty much any kind of data source you can think of. It does this by using your code and data sources to build a set of static files at the time of deployment, whereas most dynamic sites do this at the time of request. This makes it incredibly quick for the server to respond to a request, as all it has to do is fetch a matching static file and return it to the user.
The drawback here is that any changes in your data sources are going to require all of the static files to be regenerated. Fortunately, jarobe.com is a blog, whereby I pretty much just want to add content via a Markdown page, add it to the site and (hopefully) never touch the blog data again. This makes jarobe.com a perfect candidate for a static-site generator.
GatsbyJS also uses React to build it’s front-end. Because I’ve used React before for the little bit of front-end development I’ve done, and because I like using front-end tools for front-end development I decided to go for GatsbyJS, rather than tools that use server-side languages like Go or Ruby.
Setting the site up
Anyway, time to get down to business. This is only my second blog post, but already I feel a deep connection with my readers, and I trust that you’ll already have Node.js & Git installed.
The default command to get a GatsbyJS site set up is the following (P.S. don’t run this command just yet):
npx gatsby new gatsby-siteThis is pretty cool. As long as you’ve got Node installed, you don’t even need to install Gatsby locally to start
building your site. Instead, npx will install the gatsby npm library locally, and
run the new command for you.
However, because I’m not really a designer, I decided to make use Gatsby’s starter themes to get me set up with some nice styling from the get go. There’s a good number of starter themes available on the GatsbyJS site, as well as many more in the wider web. I’ve gone with GatsbyCentral’s fork of gatsby-starter-lumen. It’s a nice, simple and uncomplicated layout. It’s also free to use, so it’s ticking a log of boxes.
So with my starter template selected, all I have to do is run the following from my main project directory:
npx gatsby new jarobe.com https://github.com/GatsbyCentral/gatsby-v2-starter-lumenVoila! On my good ol’ Australian internet, this takes about 2 minutes to download the repo, and generate all the files I
could ever want in the jarobe.com directory.
Now let’s run the site locally:
cd jarobe.com
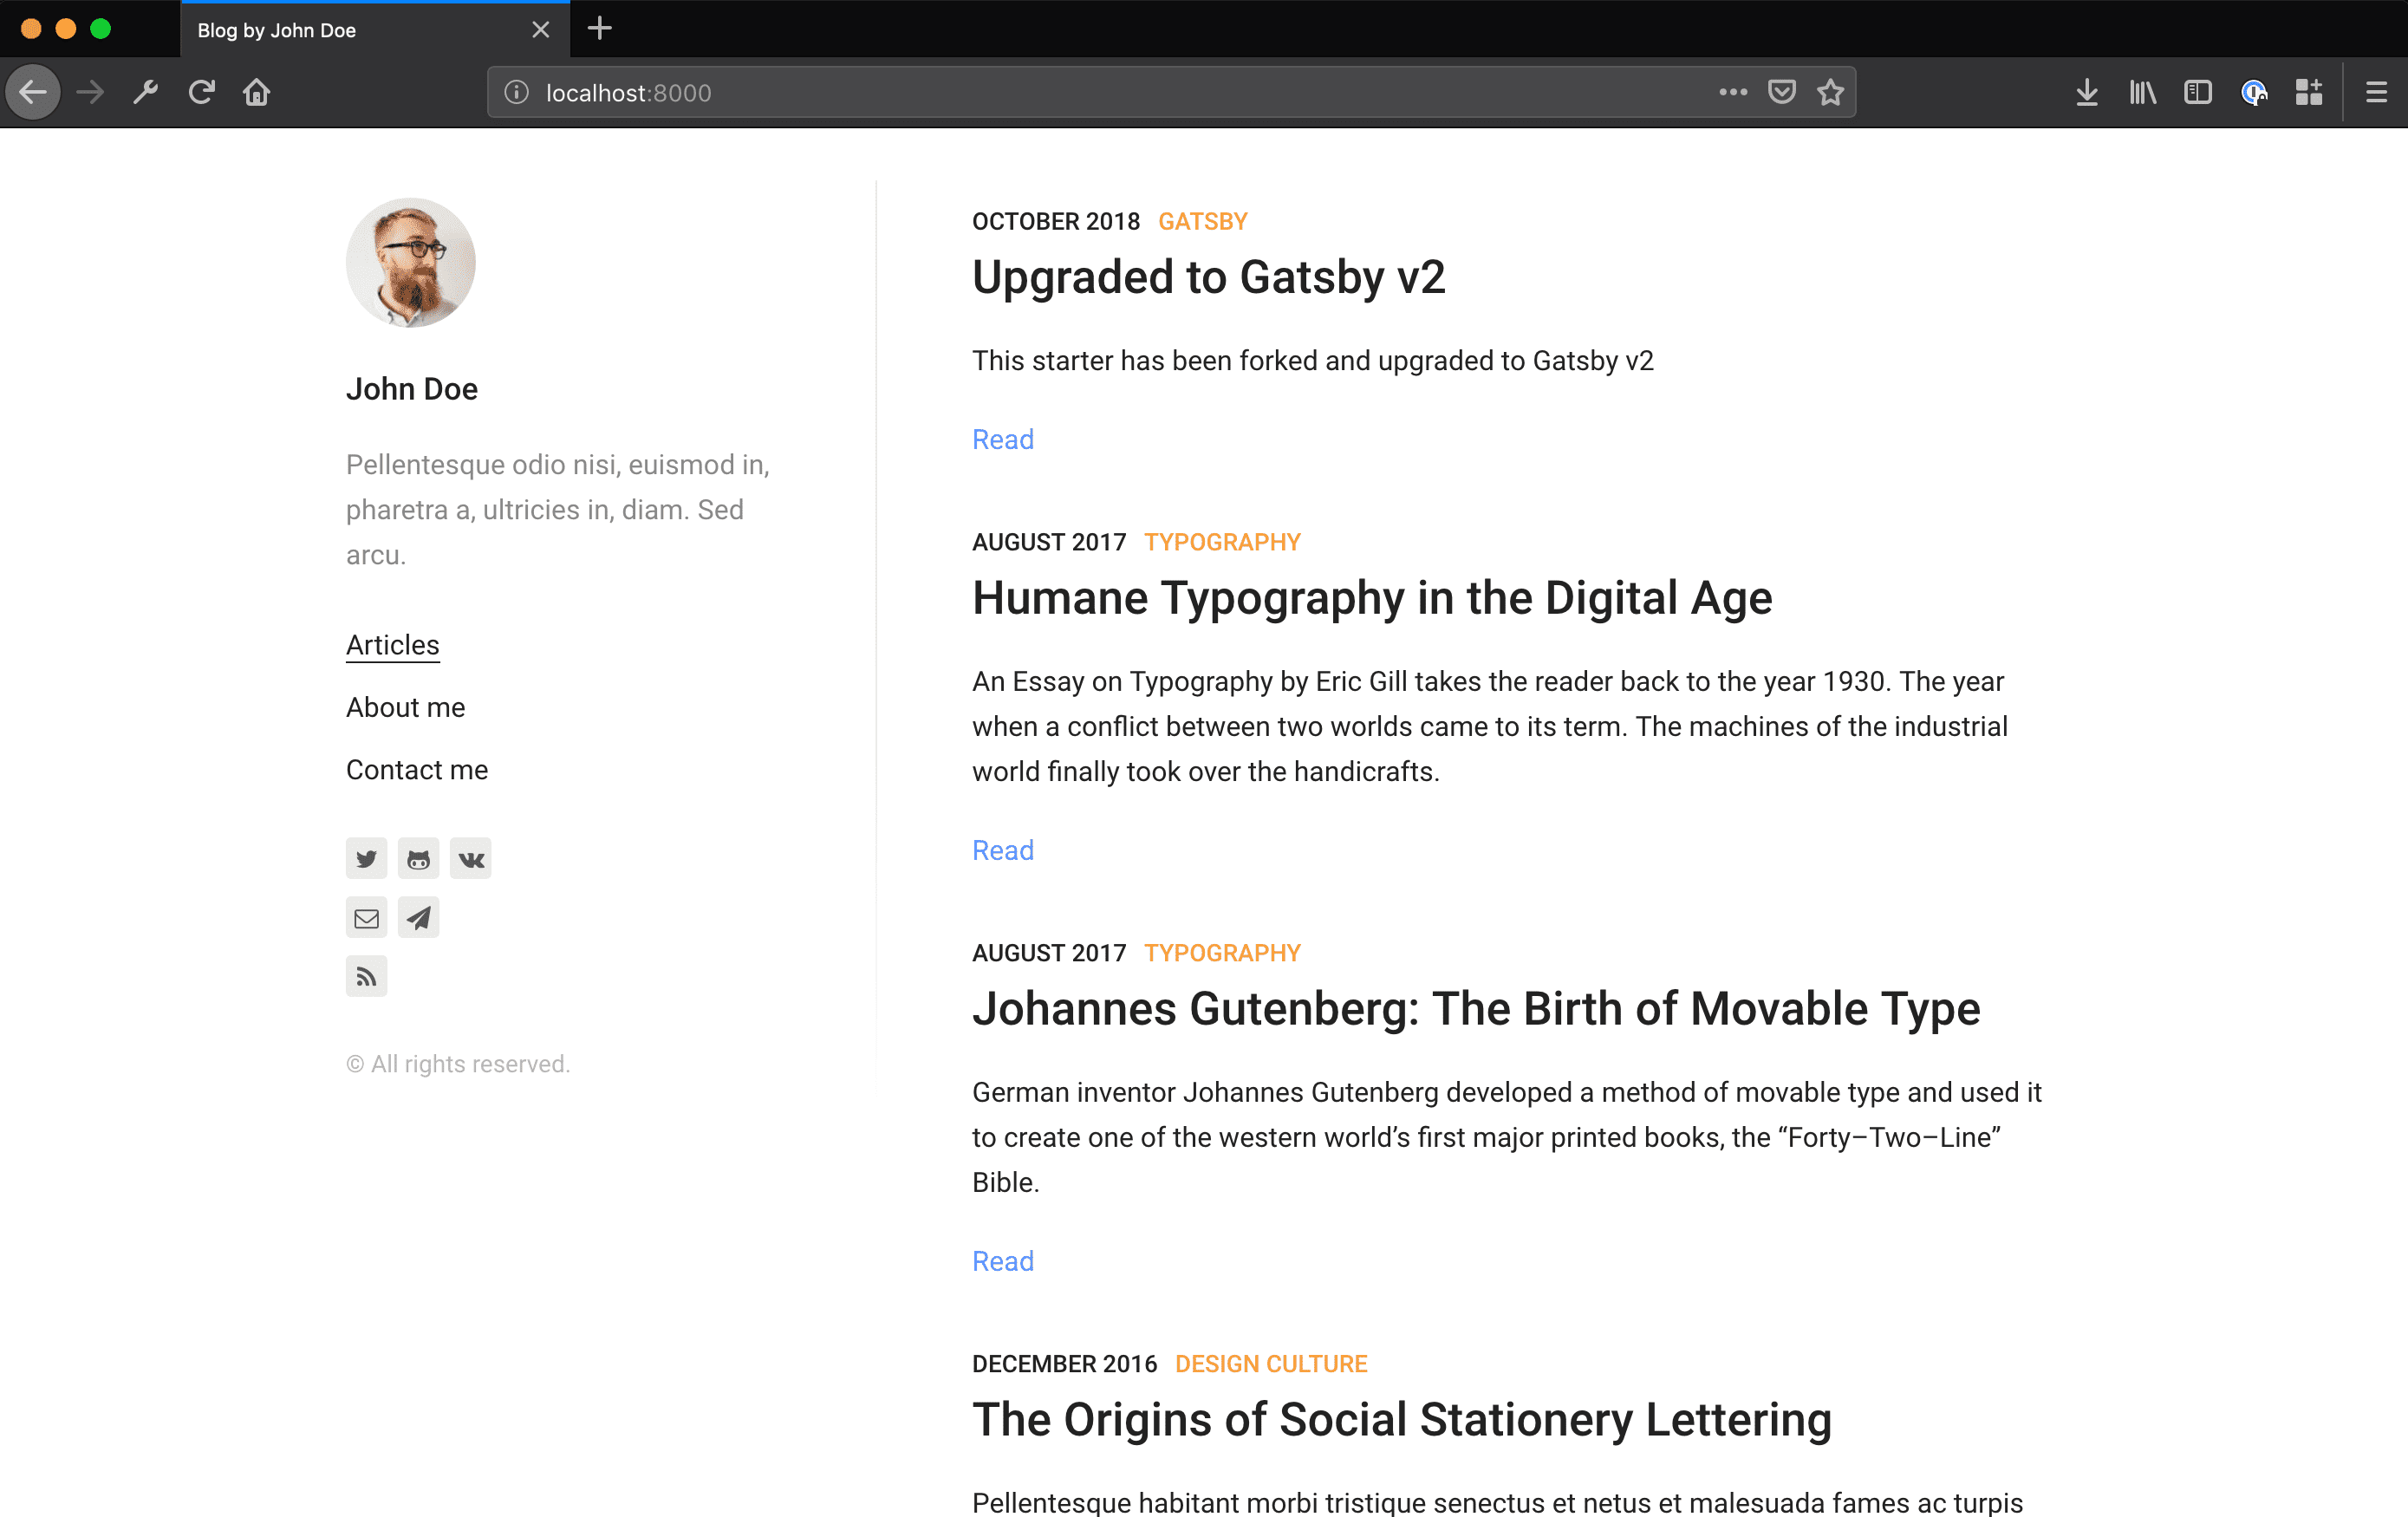
gatbsy developThis triggers a compilation of the site and makes it possible to view the site at http://localhost:8000/
Now that we’ve got a base template, we should be good little git soldiers, and set up our repo. So for me, this is:
git init
git add .
git commit -m "Initial project setup"
git remote add origin git@github.com:jarobe42/jarobe.com.git
I’m using git@github.com:jarobe42/jarobe.com.git, which is a github repo I set up earlier.
Customizing content
So now we’ve got a working website locally, but all of the content still refers to GatsbyCentral and their theme. It’s a great theme, but I don’t have a lot of desire to build a site just to talk about the theme so I need to make some edits!
I won’t bore you with all the details about everything I changed, but here’s a quick list of places to check:
- The
siteMetadatasection of thegatsby-config.jsfile - Update
src/components/Layout/index.jsxto change the default page title - Update
src/pages/photo.jpgto my logo
I also made a few styling changes to make the site more me. But you guys don’t need to see me fumbling around with CSS, so just trust me.
Once I’ve made the changes, I do my git commit and push thing, and I’m ready to deploy. Woohoo!
Deployment
So, Gatsby makes it super easy to deploy your site. Because all we’re doing is serving static files, there’s no need to configure anything too special to run on the server. Even better, Netlify provides a service to deploy the service. Even better, Netlify provides the service for free for one service!
To take advantage of this amazing deal, all that’s needed is to sign up to Netlify. I’ll be using Github to sign up, because that’s where my repository is hosted. Once that’s done, I just follow the prompts in Netlify to connect the repository, and Netlify takes care of the rest!
Conclusion
So there you have it, we’ve built and deployed a service using GatsbyJS and Netlify, with basically no tears. On top of that, due to the simplicity of GatsbyJS and the generosity of Netlify, we’ve been able to deploy it all without spending a cent!